
簡介#
NVActivityIndicatorView 是一系列令人驚艷的 Loading 動畫,它採用了向量繪圖的方式來呈現動畫,這是 DGActivityIndicatorView 的一個衍生,靈感來自於 Loaders.css。
範例#
| Type | Type | Type | Type |
|---|---|---|---|
| 1. ballPulse | 2. ballGridPulse | 3. ballClipRotate | 4. squareSpin |
| 5. ballClipRotatePulse | 6. ballClipRotateMultiple | 7. ballPulseRise | 8. ballRotate |
| 9. cubeTransition | 10. ballZigZag | 11. ballZigZagDeflect | 12. ballTrianglePath |
| 13. ballScale | 14. lineScale | 15. lineScaleParty | 16. ballScaleMultiple |
| 17. ballPulseSync | 18. ballBeat | 19. lineScalePulseOut | 20. lineScalePulseOutRapid |
| 21. ballScaleRipple | 22. ballScaleRippleMultiple | 23. ballSpinFadeLoader | 24. lineSpinFadeLoader |
| 25. triangleSkewSpin | 26. pacman | 27. ballGridBeat | 28. semiCircleSpin |
| 29. ballRotateChase | 30. orbit | 31. audioEqualizer |
安裝#
你必須採用 Cocoapods 來進行安裝,你可以參考 CocoaPods iOS 第三方套件管理工具 這篇文章。
然後將 NVActivityIndicatorView 加入你的 Podfile 當中。
use_frameworks!

pod 'NVActivityIndicatorView'
使用教學#
首先,你必須先引入 NVActivityIndicatorView 至您的專案當中。
import NVActivityIndicatorView
接下來,有兩種方法可以建立 NVActivityIndicatorView
- 透過 storyboard 來將 UIView 變更為 NVActivityIndicatorView
- 利用寫程式的方式來建立。
NVActivityIndicatorView(frame: frame, type: type, color: color, padding: padding)
如何控制它呢?#
啟動動畫#
activityIndicatorView.startAnimating()
暫停動畫#
activityIndicatorView.stopAnimating()
確認動畫是否正在運轉中#
animating = activityIndicatorView.animating
我該如何用很懶的方式來使用它呢?#
那麼你可以讓你的 ViewController 先參考 NVActivityIndicatorViewable,就像:
class ViewController: UIViewController, NVActivityIndicatorViewable {
    // Code ...
}
然後你就可以在你的程式碼當中,隨意新建 Loading 畫面、關閉畫面了,就像:
開啟動畫#
startAnimating(size, message)
關閉動畫#
stopAnimation()
讓我們來看看官方的 startAnimating 原始碼怎麼寫的吧!#
public final func startAnimating(
    // 設定 Loading CG 的 Size
    _ size: CGSize? = nil,
    // 設定 Loading 顯示的訊息內容
    message: String? = nil,
    // 設定訊息內容的字型
    messageFont: UIFont? = nil,
    // 設定 CG 的樣式
    type: NVActivityIndicatorType? = nil,
    // 設定 CG 的顏色
    color: UIColor? = nil,
    // 設定 Padding
    padding: CGFloat? = nil,
    // 設定延遲時間
    displayTimeThreshold: Int? = nil,
    // 最小的延遲時間
    minimumDisplayTime: Int? = nil,
    // 背景顏色
    backgroundColor: UIColor? = nil,
    // 訊息內容顏色
    textColor: UIColor? = nil) {

    let activityData = ActivityData(size: size,
                                    message: message,
                                    messageFont: messageFont,
                                    type: type,
                                    color: color,
                                    padding: padding,
                                    displayTimeThreshold: displayTimeThreshold,
                                    minimumDisplayTime: minimumDisplayTime,
                                    backgroundColor: backgroundColor,
                                    textColor: textColor)
    NVActivityIndicatorPresenter.sharedInstance.startAnimating(activityData)
}
再來讓我們來看看官方的 stopAnimation 原始碼怎麼寫的吧!#
public final func stopAnimating() {
    // 就只是叫他停止而已 ...
    NVActivityIndicatorPresenter.sharedInstance.stopAnimating()
}
關於預設 … 它都設定了些什麼?#
預設的動畫#
// 第 23 號的經典動畫
NVActivityIndicatorView.DEFAULT_TYPE = .ballSpinFadeLoader
預設的顏色#
// 白色 RGB(255,255,255)
NVActivityIndicatorView.DEFAULT_COLOR = UIColor.white
預設的訊息內容顏色#
// 白色 RGB(255,255,255)
NVActivityIndicatorView.DEFAULT_TEXT_COLOR = UIColor.white
預設的間距#
// 沒有間距
NVActivityIndicatorView.DEFAULT_PADDING = CGFloat(0)
預設的 CG 大小#
// 60 * 60
NVActivityIndicatorView.DEFAULT_BLOCKER_SIZE = CGSizeMake(60, 60)
預設的背景顏色#
// 黑色 RGB(0,0,0) 透明度 50%
NVActivityIndicatorView.DEFAULT_BLOCKER_BACKGROUND_COLOR = UIColor(red: 0, green: 0, blue: 0, alpha: 0.5)
預設的延遲時間#
// 沒有延遲
NVActivityIndicatorView.DEFAULT_BLOCKER_DISPLAY_TIME_THRESHOLD = 0 // 以毫秒計算
預設的最小延遲時間#
// 沒有延遲
NVActivityIndicatorView.DEFAULT_BLOCKER_MINIMUM_DISPLAY_TIME = 0 // 以毫秒計算
預設的訊息內容#
// 還是沒有任何內容
NVActivityIndicatorView.DEFAULT_BLOCKER_MESSAGE: String? = nil
預設的訊息內容字型#
// 粗體、系統字型、大小 20
NVActivityIndicatorView.DEFAULT_BLOCKER_MESSAGE_FONT = UIFont.boldSystemFont(ofSize: 20)
實際範例#
我們就來實際操作看看 NVActivityIndicatorView 的效果吧!首先我的 Podfile 配置如下:
# Uncomment the next line to define a global platform for your project
# platform :ios, '9.0'

target 'NVActivityIndicatorView' do
# Comment the next line if you're not using Swift and don't want to use dynamic frameworks
use_frameworks!

# Pods for NVActivityIndicatorView
pod 'NVActivityIndicatorView'

end
就只有參考一個 NVActivityIndicatorView 而已,接下來我們直接 pod install 去執行它。
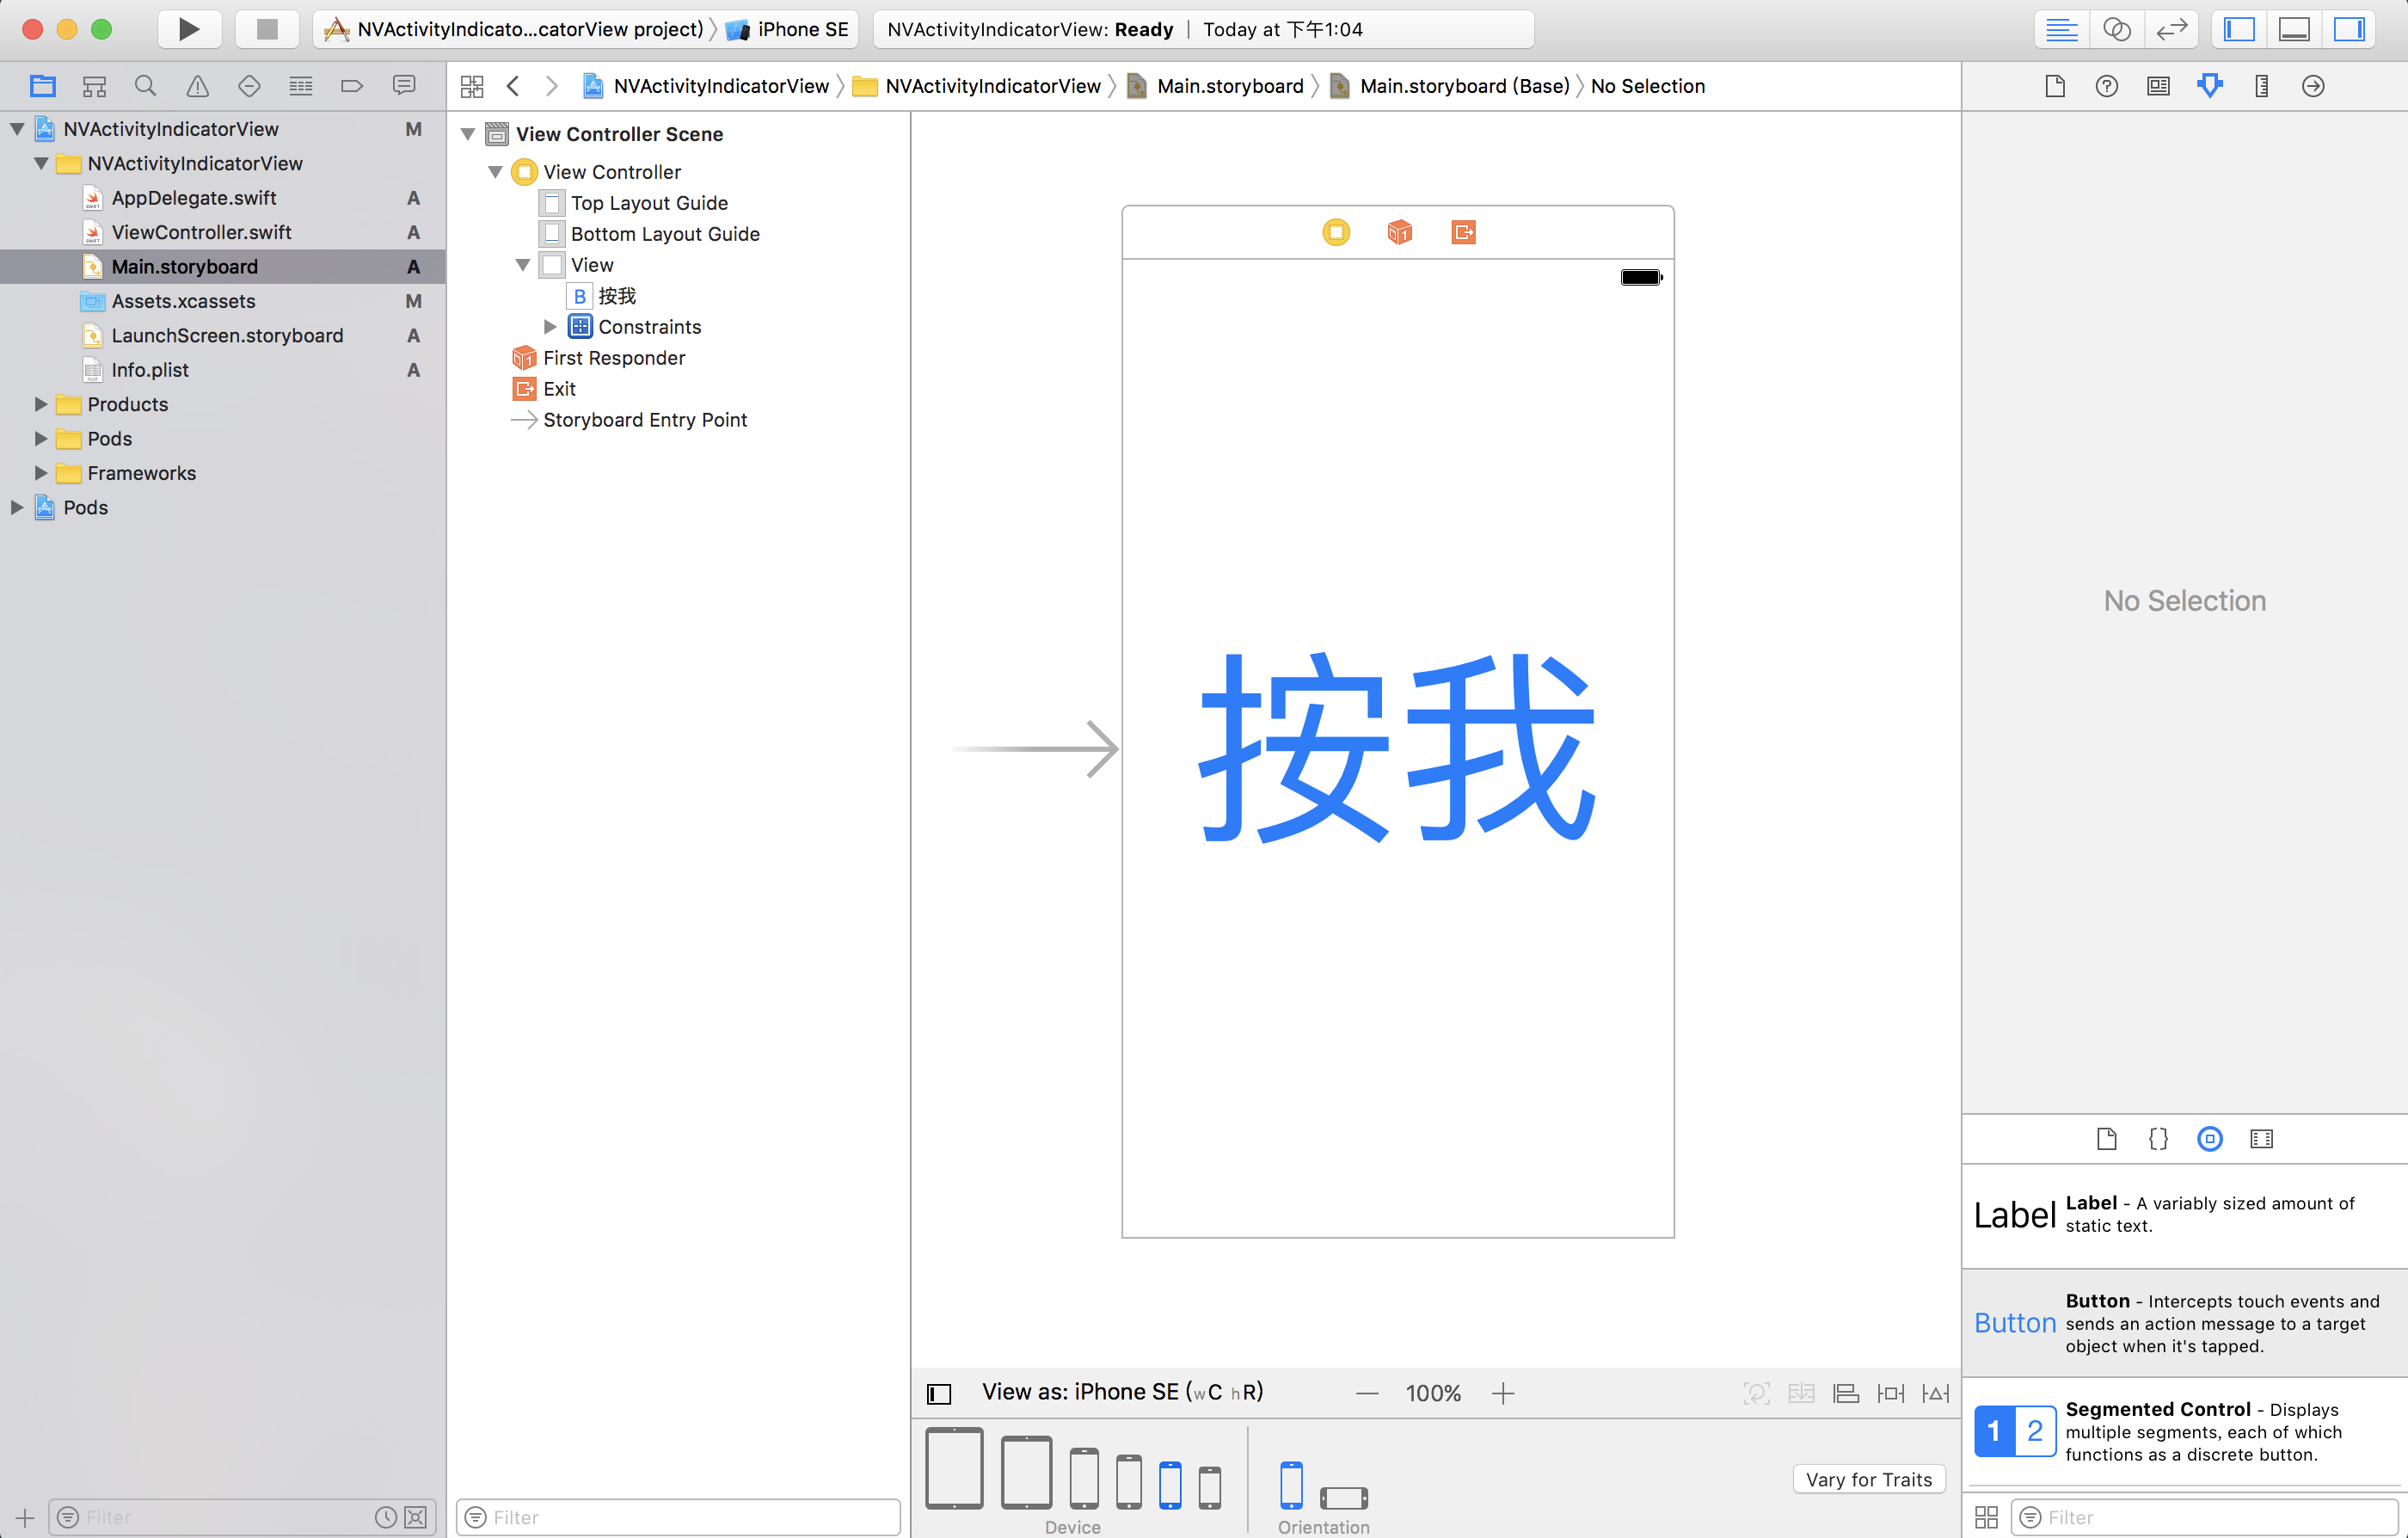
執行完了以後,我們稍微設計一下畫面,在畫面中我們只需要一個 Button:
再來,我們希望說,按下這顆按鈕後,我們就顯示 Loading 的圖示,長達三秒,這時候我們就可以參考官方的範例:
@IBAction func didButtonOnClick(_ sender: Any) {
    let size = CGSize(width: 30, height: 30)

    startAnimating(size, message: "Loading...", type: NVActivityIndicatorType(rawValue: sender.tag)!)

    DispatchQueue.main.asyncAfter(deadline: DispatchTime.now() + 1.5) {
        NVActivityIndicatorPresenter.sharedInstance.setMessage("Authenticating...")
    }

    DispatchQueue.main.asyncAfter(deadline: DispatchTime.now() + 3) {
        self.stopAnimating()
    }
}
其他#
當然你也可以試用看看官方的範例,會使你更快熟悉 NVActivityIndicatorView 這好用的第三方套件哦!