在台灣或日本當中,Line 一直是這些國家民眾愛用的通訊軟體之一,隨著資訊的發展,越來越多開發者重視各種機器人的開發,從上次的 Facebook Chat Bot 教學,我們教大家使用 Chatfuel 來開發 Facebook 的聊天機器人,而這次乾太將要帶給大家 Line 的聊天機器人。
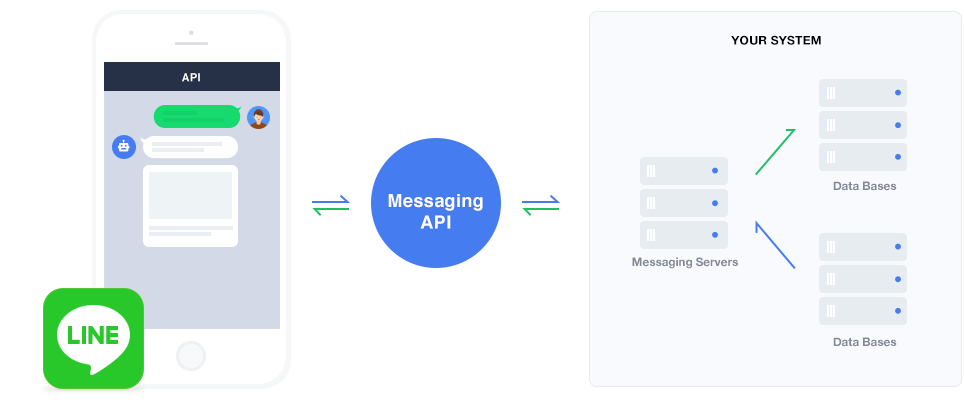
LINE 官方:Messaging API 將透過 LINE 伺服器,在您的伺服器與 LINE 應用程式間互相收發資訊。並且將活用 JSON 形式的 API 進行通訊請求。
如果對於 JSON 形式不了解的,那我們就來回顧回顧以往的 Java 或 Android 上的 Json 基本教學 吧!
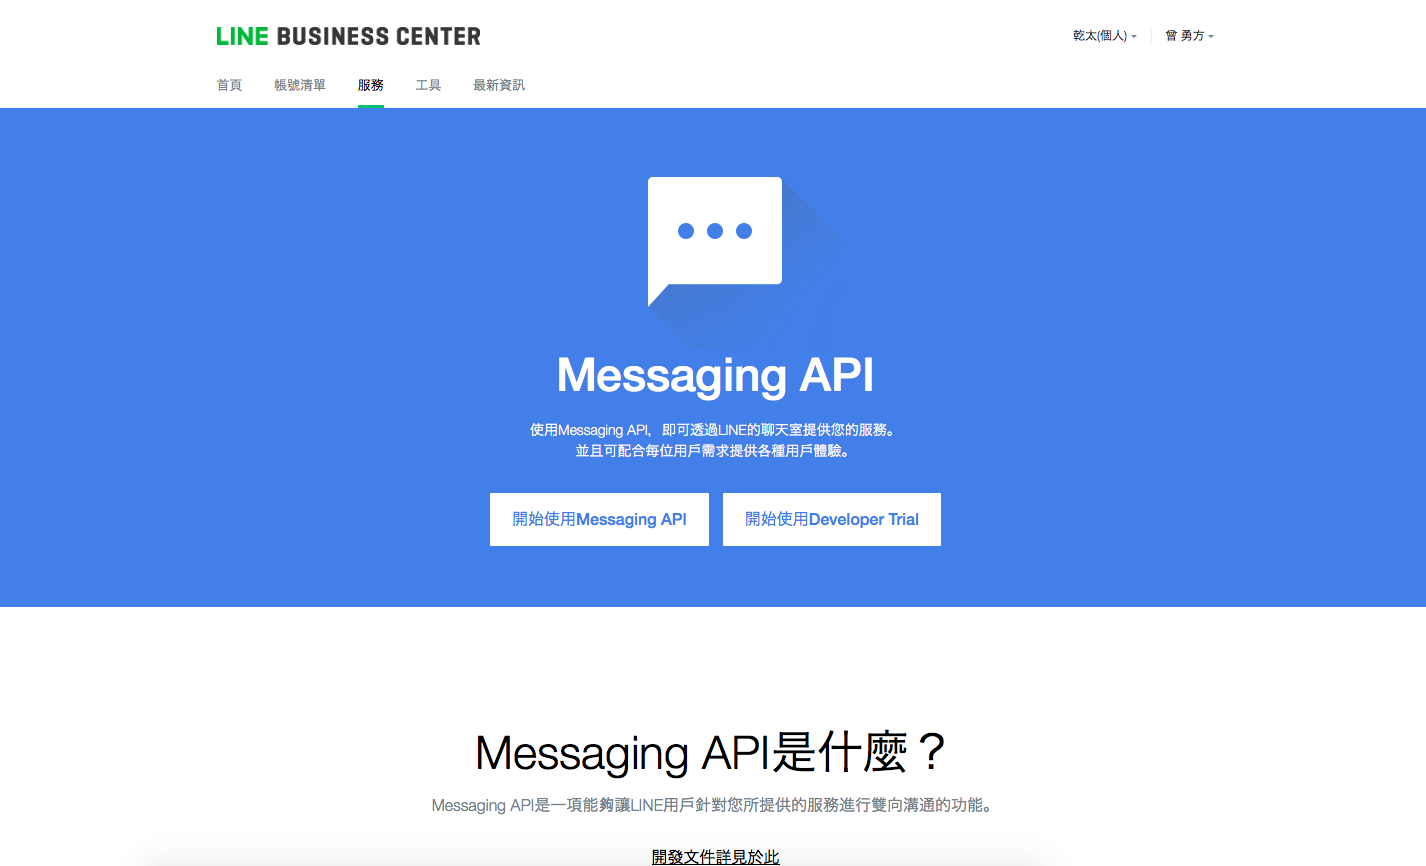
我們先進入 Line Message API 的官方看看吧!沒錯,就是點我。
在官方當中已經有基本的介紹了,有興趣的可以看看,首先我們要先申請一個 Line Business 帳號,這跟我們一般使用的 Line 帳號不太一樣,大家到這邊可能有點模糊,所以這邊我們要來小小的說明一下流程:
- 你有個 Line 帳號
- 你透過這個 Line 帳號,去註冊一個或多個 Line BOT 帳號。
- 開始使用。
嗯,看得好像有點懂,但事實上卻霧煞煞,沒關係,我們直接實際操作吧!我們先假設大家已經有 Line 帳號了,接下來我們要來申請 Line Business 帳號,流程非常簡單,點我,然後選擇「開始使用 Messaging API」。
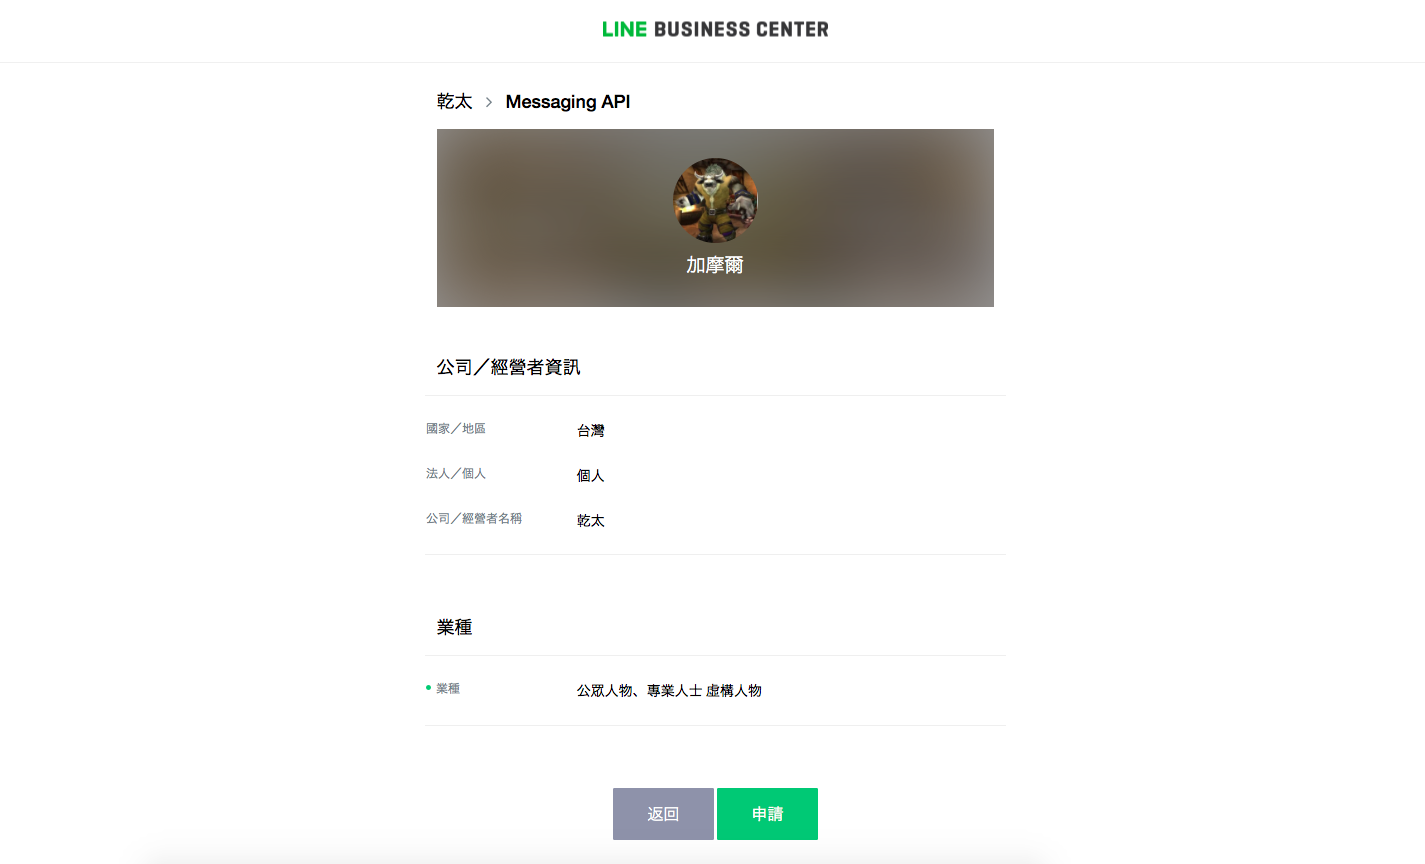
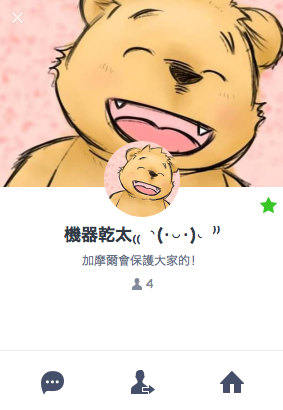
然後填完一些機器人的基本資料,你可以給他黑人滿臉問號的大頭貼,或者把他名字取名為黑人滿臉問號,都可以。
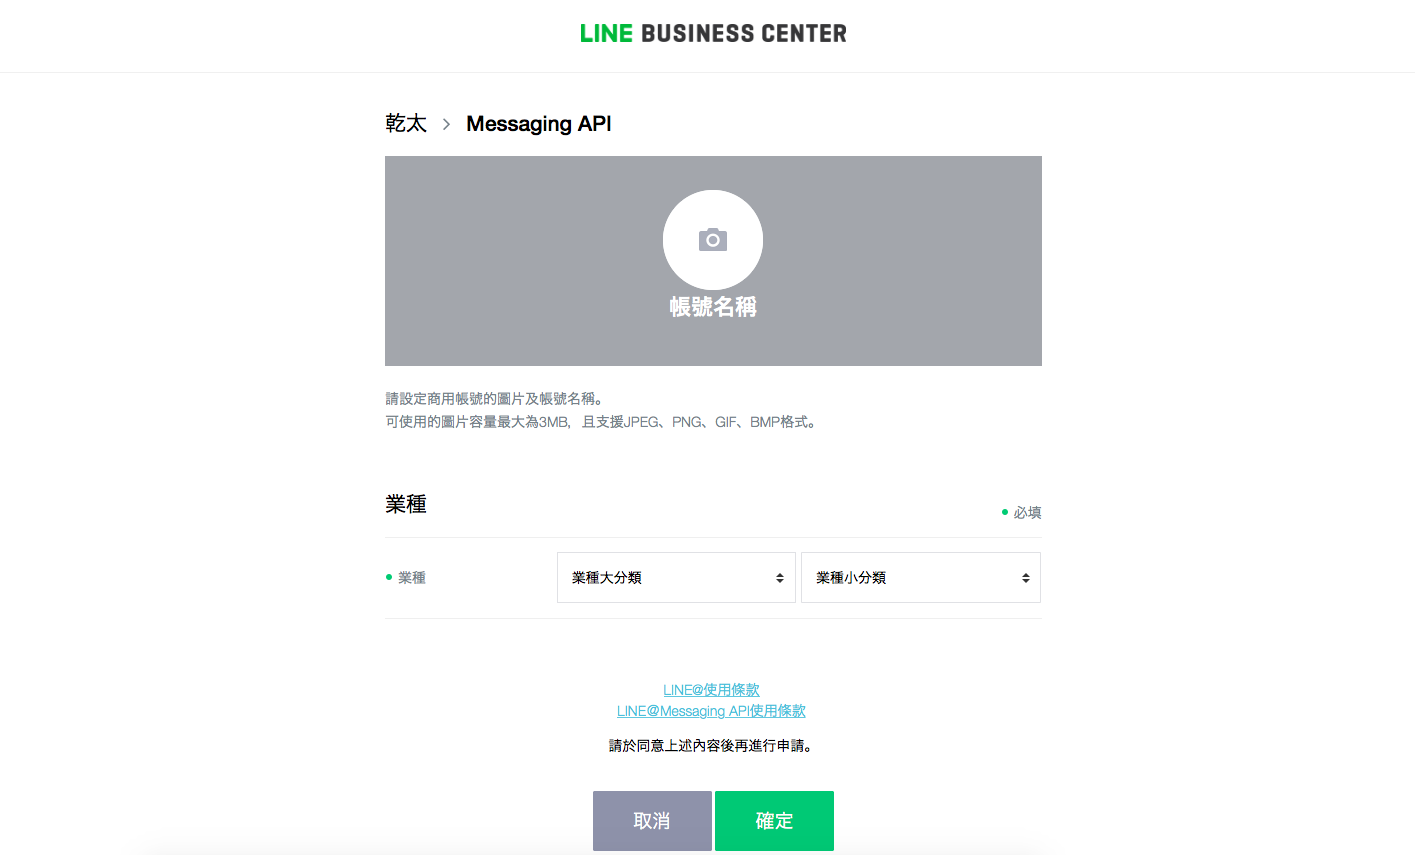
老樣子,我一樣會把我的 BOT 叫做「加摩爾」,確認完資料後就按申請吧。
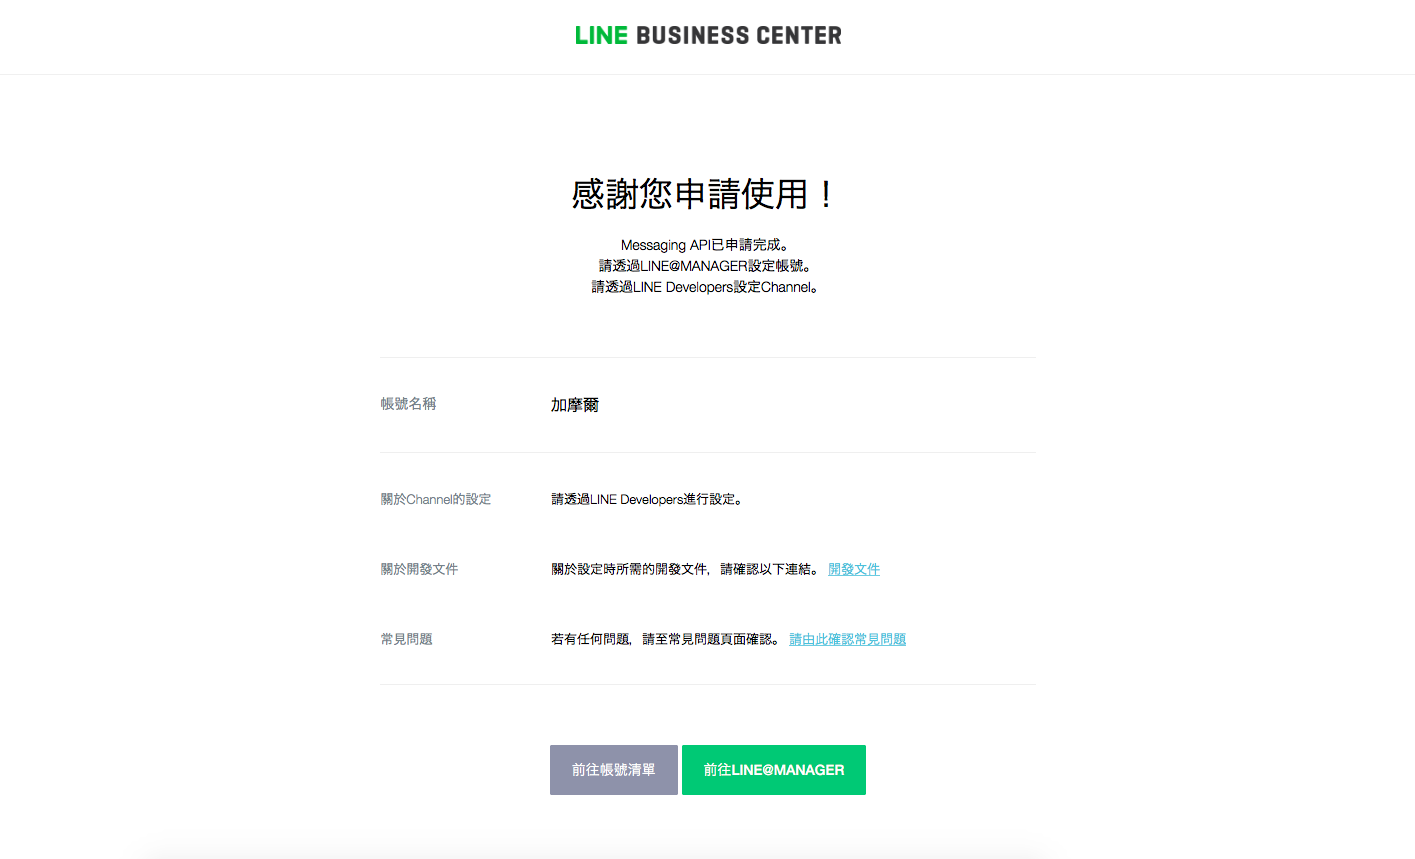
完成後,如果我們接下來要進入「前往 LINE@MANAGER」。
接下來我們要啟用 BOT API。
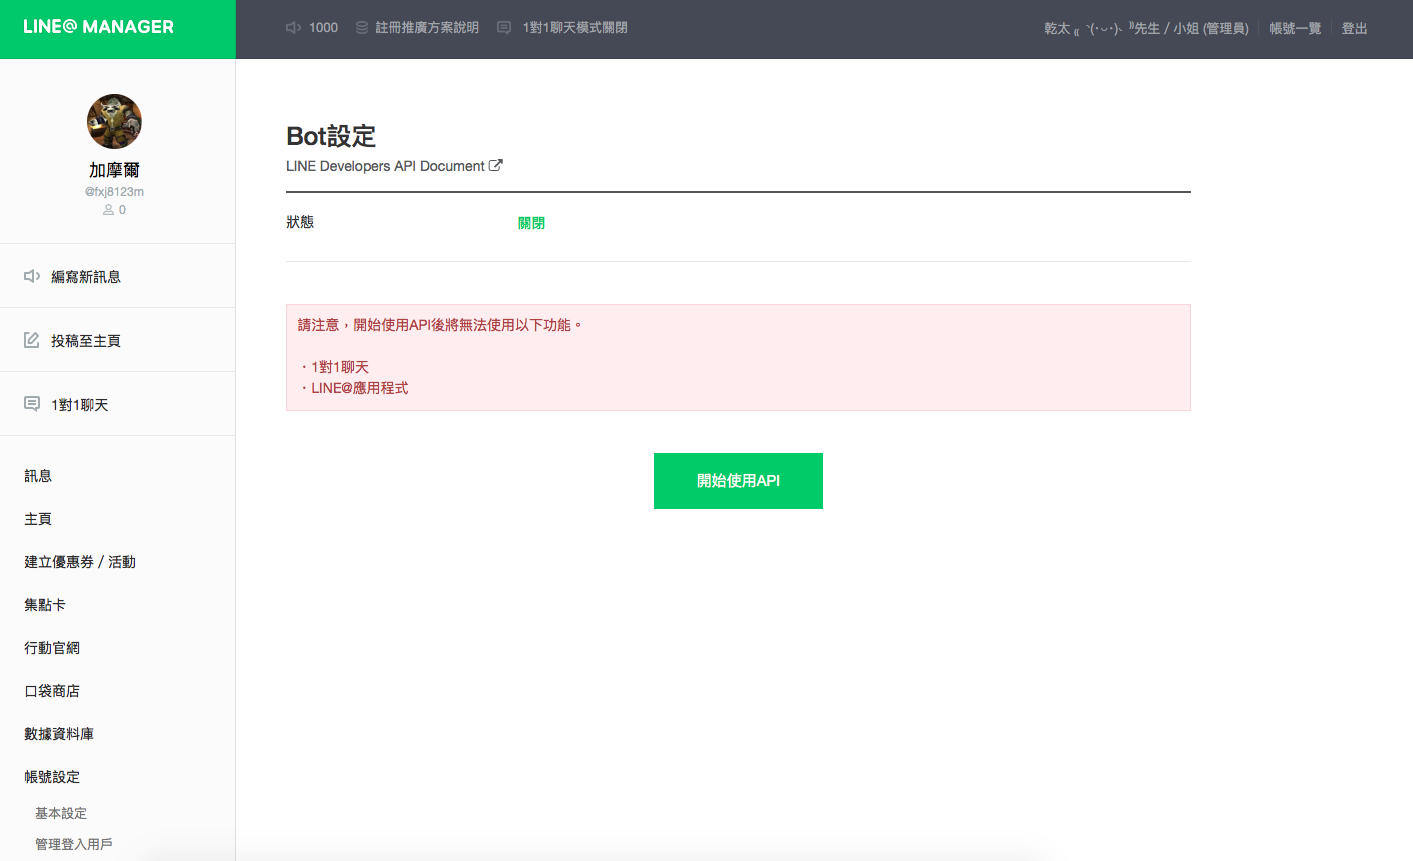
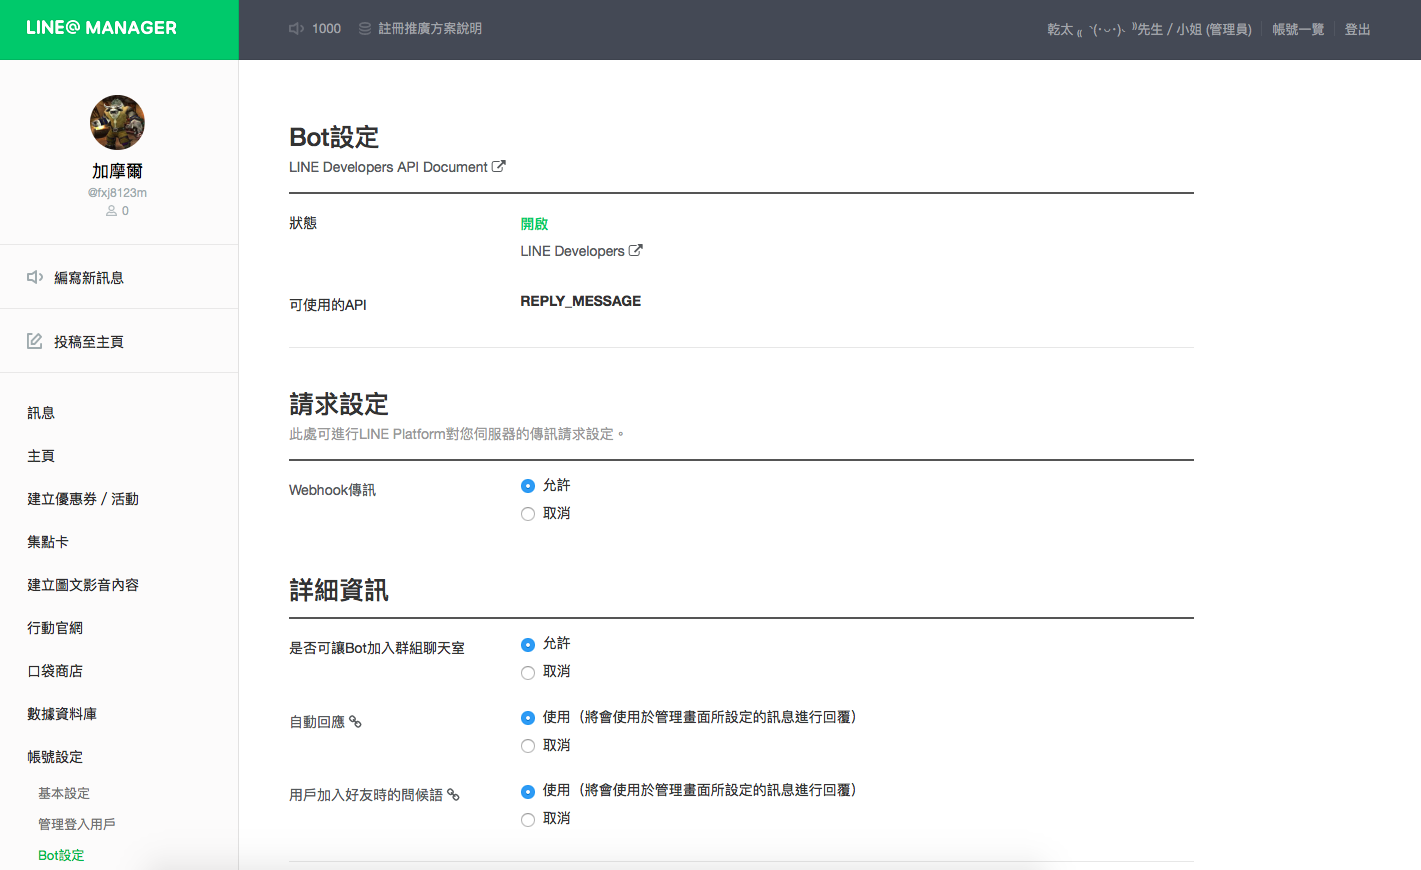
我們接下來就啟用你的 BOT 吧!我們必須啟用「Webhook 傳訊」這項功能,這樣才能透過伺服器來傳遞訊息。
啟用完之後,在「Bot設定 -> 狀態」有個「LINE Developers」,點進去,我們要設定我們的伺服器。
有個「Webhook URL」,我們必須設定我們伺服器 Response 的網址,嗯?你說你沒有伺服器?沒關係,我們就順便教教如何使用「Google App Engine」架設一個簡單的伺服器吧!
不過這邊我們要來小小的澄清一下 … 話說為什麼我們要選擇使用 Google App Engine 呢?
首先 LINE 官方要求 Webhook URL 的來源必須是 HTTPS,如果只是用 XAMPP 架設一個 Apache 的話,LINE 官方是不~吃~你~這~套的!二來又有固定IP、動態IP的問題點存在,而且電腦關機就等於機器人死翹翹了!所以選擇使用 Google App Engine 來"充當"一個基本的伺服器,當然後續還會講到其他原因就是了。
首先,「Google App Engine」<- 開啟它吧!
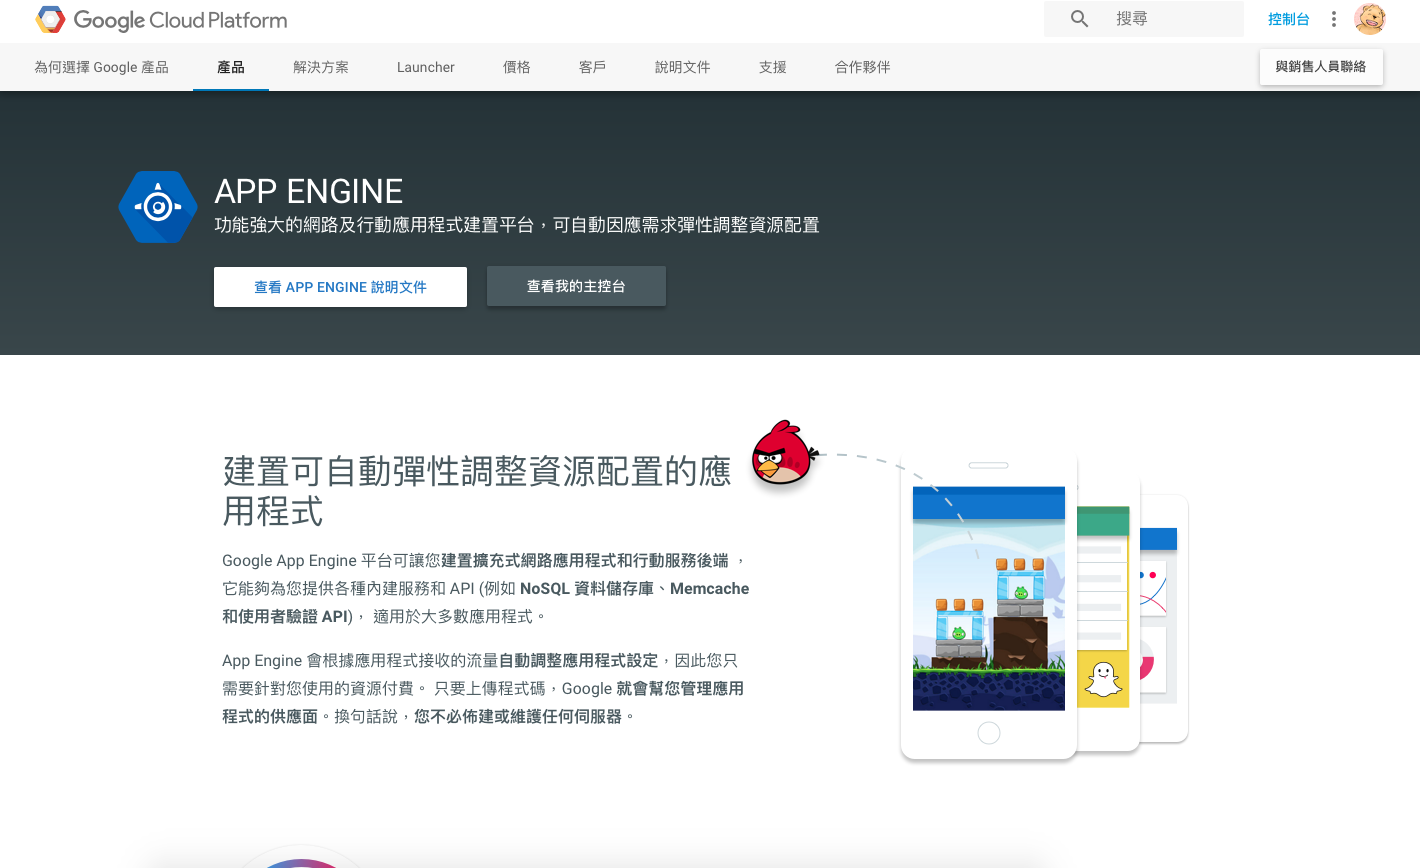
點選「查看我的主控台」,並「建立專案」。
PS: 不過 Google 本身就提供教學服務了 … 所以 … 這邊就直接跳到寫程式的地方吧͏ (・∀・)
這邊官方已經寫好一支程式了,如果大家照著「Google 提供的 Google App Engine for PHP」的教學,那請參考:
<?php
require_once('LINEBotTiny.php');

$channelAccessToken = 'Your Channel Access Token';
$channelSecret = 'Your Channel Secret';

$client = new LINEBotTiny($channelAccessToken, $channelSecret);

foreach ($client->parseEvents() as $event) {
    $client->replyMessage(array(
        'replyToken' => $event['replyToken'],
        'messages' => array(
            array(
                'type' => 'text',
                'text' => $message['text']
            )
        )
    ));
};
另外請記得在目錄下新增一個「
LINEBotTiny.php」的檔案,程式碼:
<?php
if (!function_exists('hash_equals')) {
    defined('USE_MB_STRING') or define('USE_MB_STRING', function_exists('mb_strlen'));

    function hash_equals($knownString, $userString)
    {
        $strlen = function ($string) {
            if (USE_MB_STRING) {
                return mb_strlen($string, '8bit');
            }

            return strlen($string);
        };

        // Compare string lengths
        if (($length = $strlen($knownString)) !== $strlen($userString)) {
            return false;
        }

        $diff = 0;

        // Calculate differences
        for ($i = 0; $i < $length; $i++) {
            $diff |= ord($knownString[$i]) ^ ord($userString[$i]);
        }
        return $diff === 0;
    }
}

class LINEBotTiny
{
    public function __construct($channelAccessToken, $channelSecret)
    {
        $this->channelAccessToken = $channelAccessToken;
        $this->channelSecret = $channelSecret;
    }

    public function parseEvents()
    {
        if ($_SERVER['REQUEST_METHOD'] !== 'POST') {
            http_response_code(405);
            error_log("Method not allowed");
            exit();
        }

        $entityBody = file_get_contents('php://input');

        if (strlen($entityBody) === 0) {
            http_response_code(400);
            error_log("Missing request body");
            exit();
        }

        if (!hash_equals($this->sign($entityBody), $_SERVER['HTTP_X_LINE_SIGNATURE'])) {
            http_response_code(400);
            error_log("Invalid signature value");
            exit();
        }

        $data = json_decode($entityBody, true);
        if (!isset($data['events'])) {
            http_response_code(400);
            error_log("Invalid request body: missing events property");
            exit();
        }
        return $data['events'];
    }

    public function replyMessage($message)
    {
        $header = array(
            "Content-Type: application/json",
            'Authorization: Bearer ' . $this->channelAccessToken,
        );

        $context = stream_context_create(array(
            "http" => array(
                "method" => "POST",
                "header" => implode("\r\n", $header),
                "content" => json_encode($message),
            ),
        ));

        $response = file_get_contents('https://api.line.me/v2/bot/message/reply', false, $context);
        if (strpos($http_response_header[0], '200') === false) {
            http_response_code(500);
            error_log("Request failed: " . $response);
        }
    }

    private function sign($body)
    {
        $hash = hash_hmac('sha256', $body, $this->channelSecret, true);
        $signature = base64_encode($hash);
        return $signature;
    }
}
然後記得回去 Google App Engine 裡頭,開啟 Google Cloud Shell,將你的程式碼 Compile 上去:
gcloud app deploy app.yaml --project '你的專案名稱'
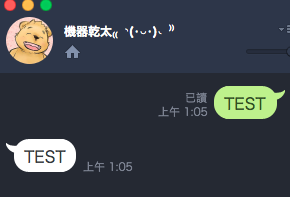
完成之後,記得把網址回填之前 LINE Developers 裡頭的 Webhood URL。
成果:
下次大概會教如何使用 Python 撰寫會自動學習的聊天機器人吧。