
超商服務愈來愈方便,現在到超商繳費不用帳單只要用專屬APP,就能下載條碼直接繳費,不只如此,超商還化身成旅遊服務中心,讓遊客除了休息還能詢問各景點資訊,刺激來客量。 新聞來源:https://tw.news.yahoo.com/%e8%b6%85%e5%95%86%e7%b9%b3%e8%b2%bbapp-%e6%89%8b%e6%a9%9f%e6%a2%9d%e7%a2%bc%e7%b9%b3%e8%b2%bb%e5%98%9b-%e9%80%9a-070000880.html
今天要做一件很有趣的事情,替學校製作手機顯示帳單的功能,來讓繳費這項程序也能夠無紙化,因此撰寫了這篇教學文以做為記錄。
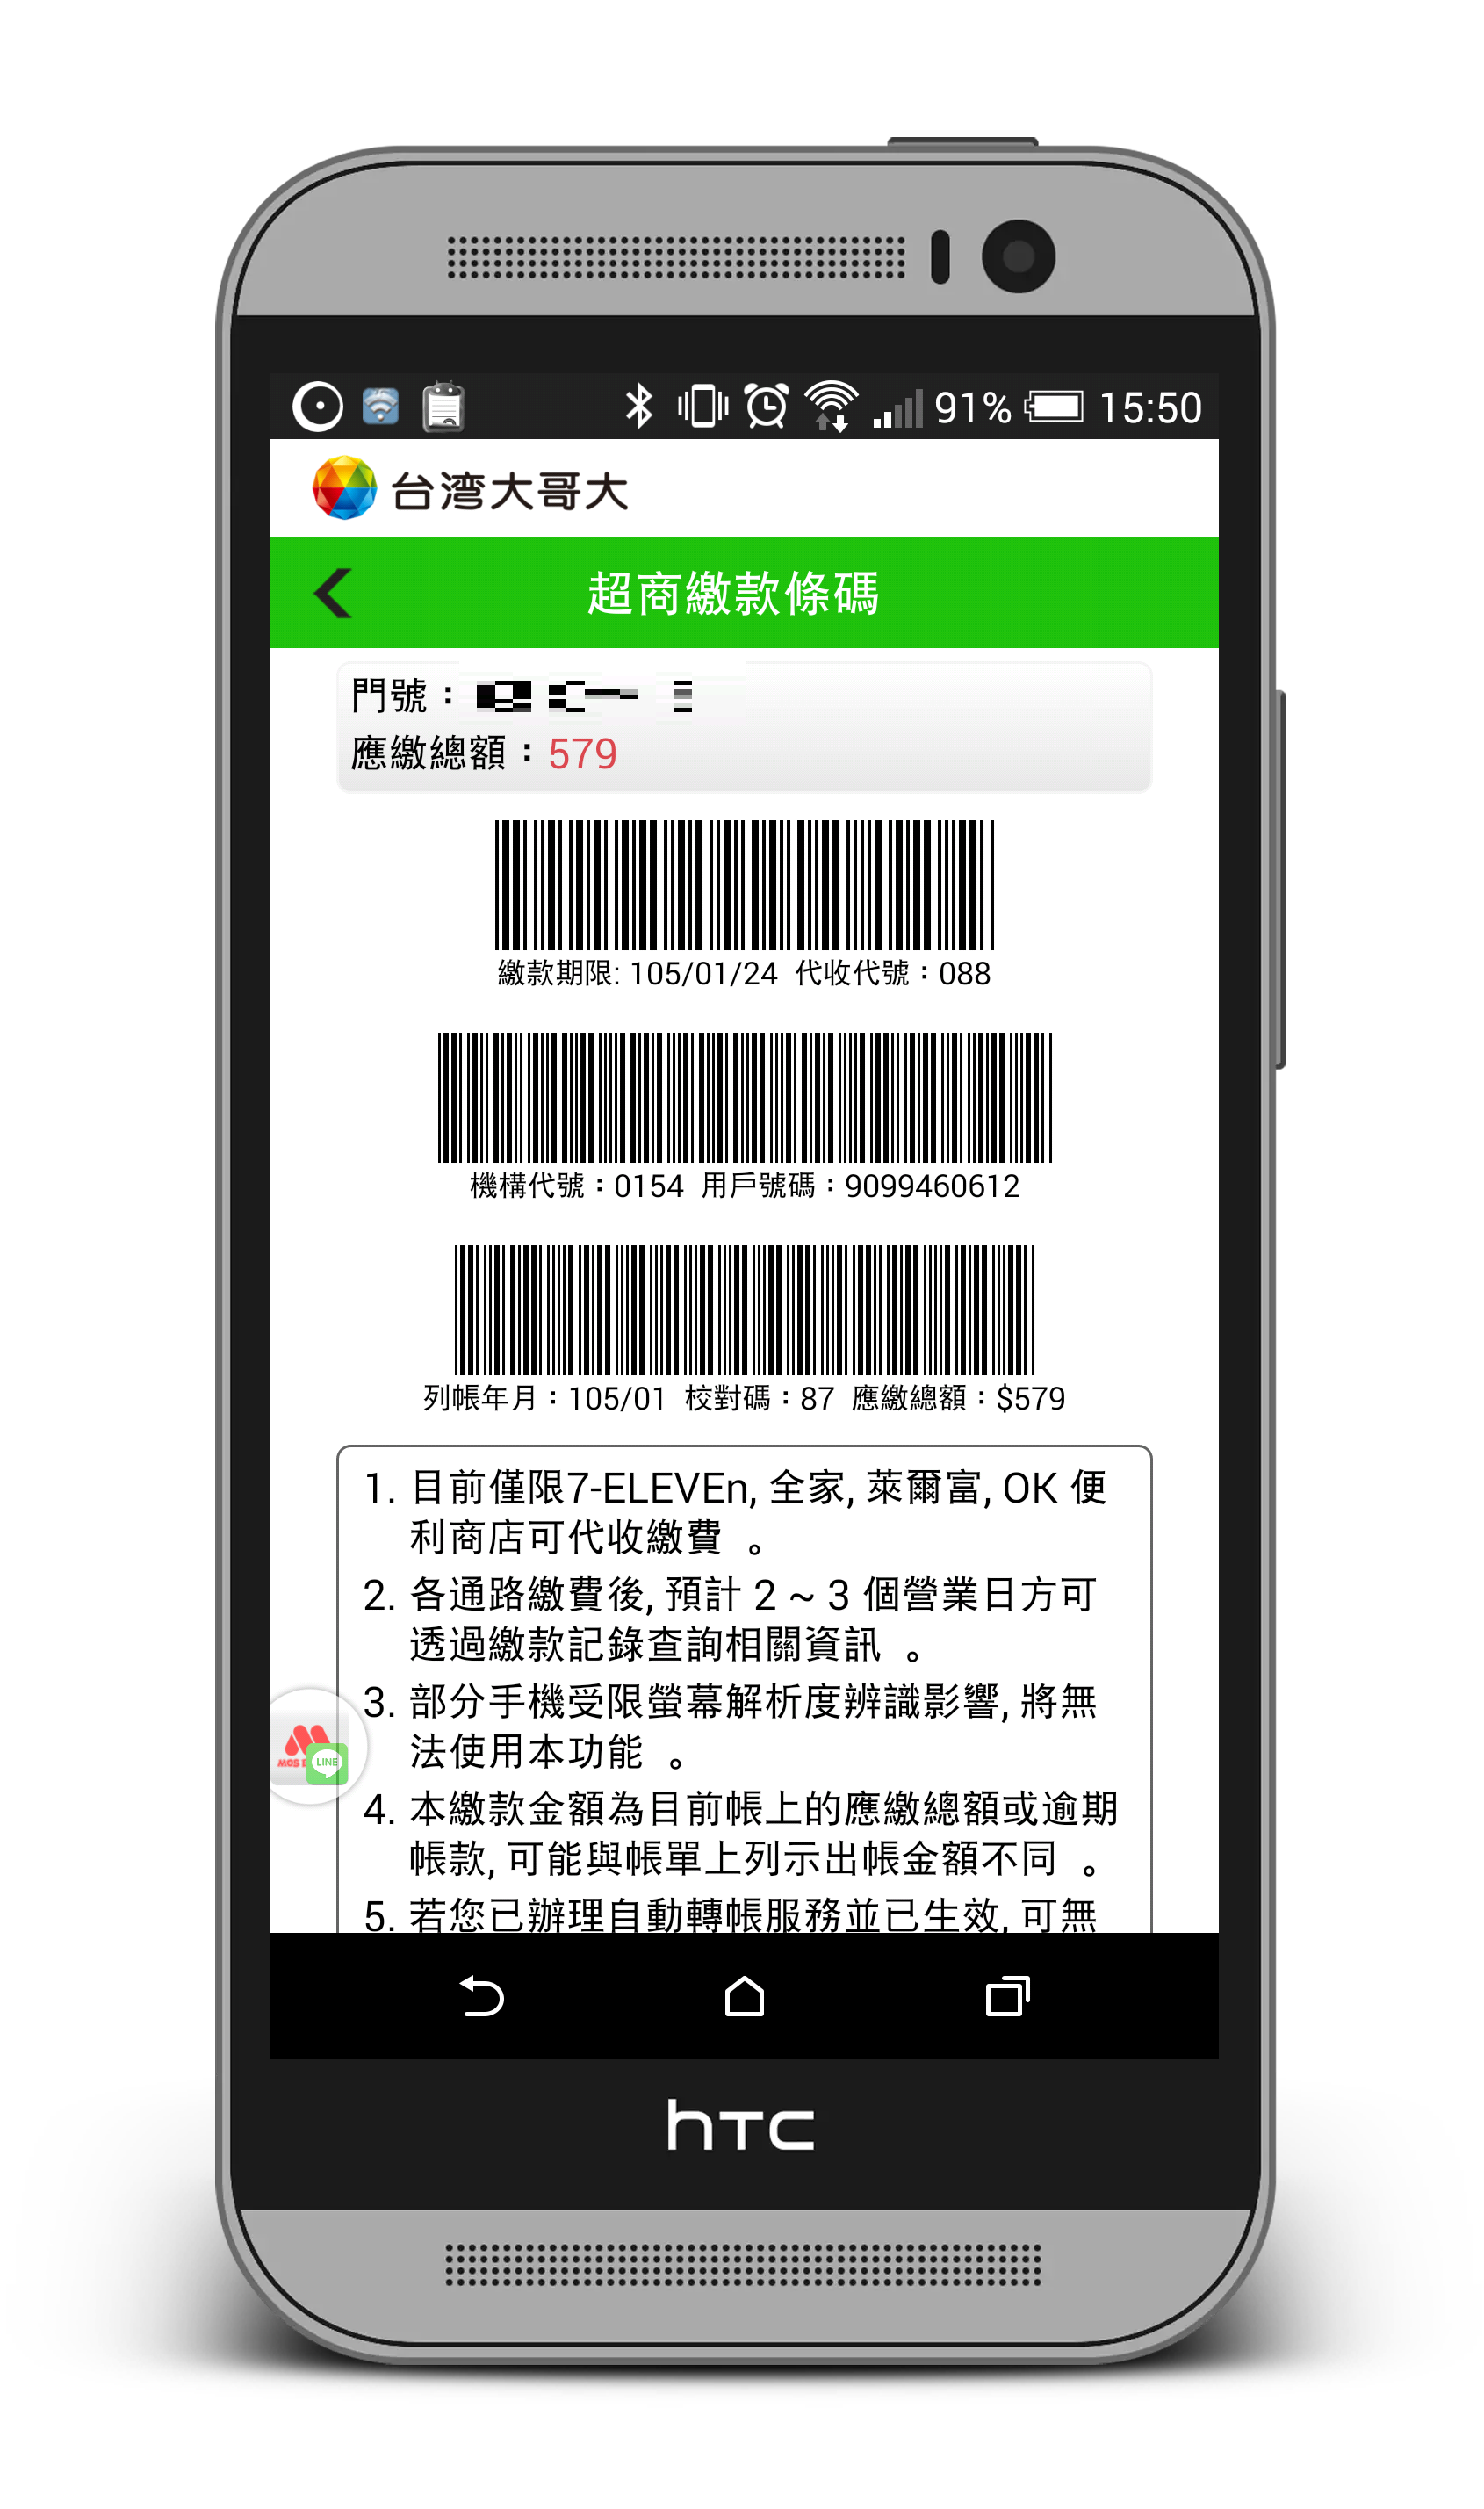
上網找了一下手機顯示帳單的範例圖後,找到下面這張圖,所以決定以這為版型,來做一個吧!
步驟一、不需要 ActionBar#
只需要進入 AndroidManifest.xml 修改 android:theme 即可。
<?xml version="1.0" encoding="utf-8"?>
<manifest xmlns:android="http://schemas.android.com/apk/res/android"
    package="tw.edu.ksu.www.code39example">

    <application
        android:allowBackup="true"
        android:icon="@mipmap/ic_launcher"
        android:label="@string/app_name"
        android:supportsRtl="true"
        android:theme="@style/Theme.AppCompat.NoActionBar">
        <activity android:name=".MainActivity">
            <intent-filter>
                <action android:name="android.intent.action.MAIN" />
                <category android:name="android.intent.category.LAUNCHER" />
            </intent-filter>
        </activity>
    </application>

</manifest>
步驟二、引入需要的參考#
首先,我們必須能夠產生 Code39 的條碼,所以必須在 build.gradle 當中參考 zxing:
compile 'com.google.zxing:core:3.2.0'
另外乾太個人喜歡順便引入 Android Bootstrap,在做畫面時很方便 … (該步驟並不是必須)
compile 'com.beardedhen:androidbootstrap:2.3.1'
步驟三、規劃版型#
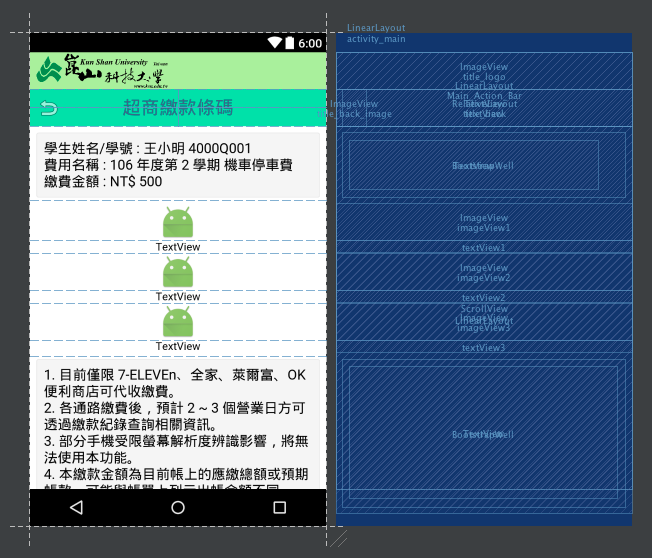
我們稍微規劃一下整個畫面結構:
- 頂端會有兩個不能移動的 ActionBar
- 一個是顯示 Logo
- 另一個則是返回上一頁,並且顯示頁面名稱。
- 內容區域可以滑動並且白底。
- 內容區域頂端顯示該次繳費的詳細資訊。
- 內容區域中間顯示繳費條碼(Code39)。
- 內容區域底端顯示固定的規範訊息。
整個規劃完了以後,畫面大概會像是這樣:
步驟四、產生繳費條碼#
我們希望開啟畫面時,立刻顯示繳費條碼相關資訊:
public class MainActivity extends AppCompatActivity {

    private ImageView __imageView1, __imageView2, __imageView3;
    private TextView __textView1, __textView2, __textView3;

    @Override
    protected void onCreate(Bundle savedInstanceState) {
        super.onCreate(savedInstanceState);
        setContentView(R.layout.activity_main);

        this.__imageView1 = (ImageView) findViewById(R.id.imageView1);
        this.__imageView2 = (ImageView) findViewById(R.id.imageView2);
        this.__imageView3 = (ImageView) findViewById(R.id.imageView3);
        this.__textView1 = (TextView) findViewById(R.id.textView1);
        this.__textView2 = (TextView) findViewById(R.id.textView2);
        this.__textView3 = (TextView) findViewById(R.id.textView3);

        String __text1 = "0123456789";
        String __text2 = "01234567899876543210";
        String __text3 = "9876543210";

        try {
            this.__imageView1.setImageBitmap(encodeAsBitmap(__text1, BarcodeFormat.CODE_39, 900, 200));
            this.__imageView2.setImageBitmap(encodeAsBitmap(__text2, BarcodeFormat.CODE_39, 900, 200));
            this.__imageView3.setImageBitmap(encodeAsBitmap(__text3, BarcodeFormat.CODE_39, 900, 200));
        } catch (WriterException e) {
            e.printStackTrace();
        }

        this.__textView1.setText("繳款期限: 106/06/30  代收代號: 123");
        this.__textView2.setText("機構代號: 0123  用戶號碼: 0123456789");
        this.__textView3.setText("列帳年月: 106/03  校對碼: 123  應繳總額: $500");
    }

    /**
     * encodeAsBitmap 方法來自於 [Android程式範例] 產生和解碼二維條碼(QRCode)與一維條碼(CODE39)
     * http://www.unood.me/2013/07/android-qrcodecode39.html
     **/
    public static Bitmap encodeAsBitmap(String contents, BarcodeFormat format, int desiredWidth, int desiredHeight) throws WriterException {
        if (contents.length() == 0) return null;
        final int WHITE = 0xFFFFFFFF;
        final int BLACK = 0xFF000000;
        HashMap<EncodeHintType, String> hints = null;
        String encoding = null;
        for (int i = 0; i < contents.length(); i++) {
            if (contents.charAt(i) > 0xFF) {
                encoding = "UTF-8";
                break;
            }
        }
        if (encoding != null) {
            hints = new HashMap<>(2);
            hints.put(EncodeHintType.CHARACTER_SET, encoding);
        }
        MultiFormatWriter writer = new MultiFormatWriter();
        BitMatrix result = writer.encode(contents, format, desiredWidth, desiredHeight, hints);
        int width = result.getWidth();
        int height = result.getHeight();
        int[] pixels = new int[width * height];
        for (int y = 0; y < height; y++) {
            int offset = y * width;
            for (int x = 0; x < width; x++) {
                pixels[offset + x] = result.get(x, y) ? BLACK : WHITE;
            }
        }
        Bitmap bitmap = Bitmap.createBitmap(width, height, Bitmap.Config.ARGB_8888);
        bitmap.setPixels(pixels, 0, width, 0, 0, width, height);
        return bitmap;
    }
}
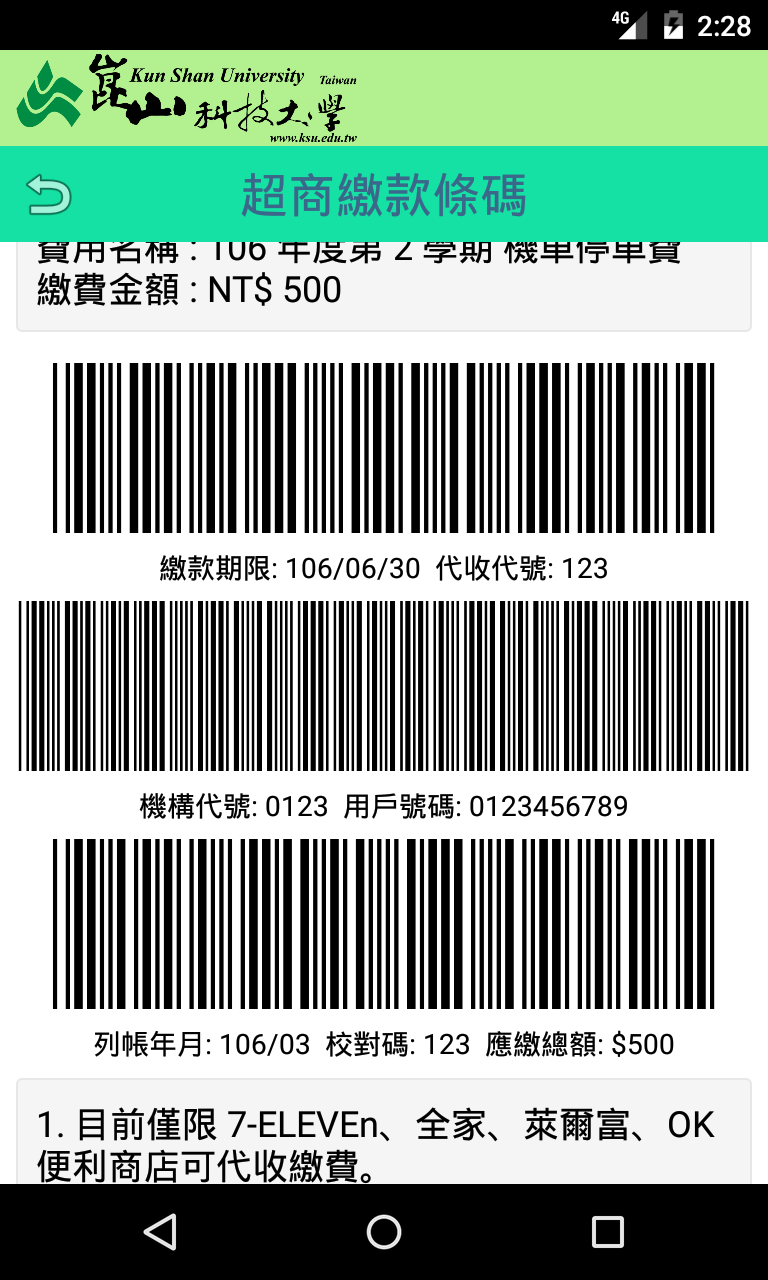
成果畫面如下:
步驟五、動態調整亮度#
通常很多 App 在顯示條碼時,都會刻意提高亮度,以此來增加掃描成功率,而離開條碼顯示頁面後,又會將亮度調整至原始狀態,所以我們來嘗試增加動態調整亮度的功能:
// 當畫面可以被看見時
@Override
protected void onStart() {
    super.onStart();
    this.setBrightness(1);
}

// 設定畫面亮度,0 為最暗,1 則是最亮。
public void setBrightness(float f) {
    WindowManager.LayoutParams layoutParams = getWindow().getAttributes();
    layoutParams.screenBrightness = f;
}
這樣就完成了簡單的電子化超商繳費條碼顯示的功能囉!